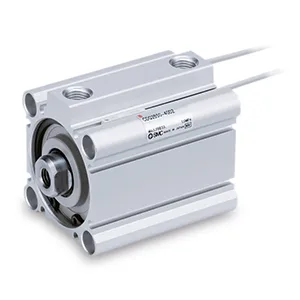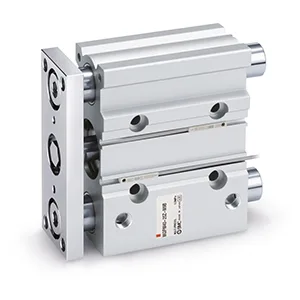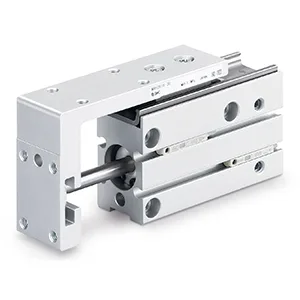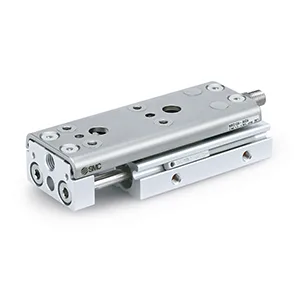

- Series L: w/Low Load Shock Absorber.

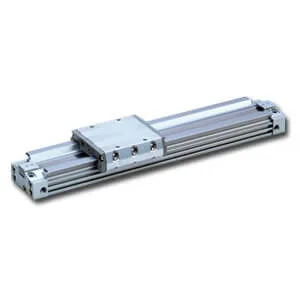 Series image. Appearance may vary by model and options.
Pneumatic actuators
MY3M
MY3M, Mechanical Joint Rodless Cylinder, Slide Bearing Type, w/Low Load Shock Absorber, Series L
Explore the features, model options and technical documentation for MY3M. Contact Pnoneks to select the full part number for your application.
SMC ·Rodless Pneumatic Cylinders and Rodless Actuators
Request a quote for your application.
Share your part number and quantity so we can confirm pricing and lead time.
Selecting MY3M
Selecting MY3M: review the full part number and your system conditions when considering this Pneumatic actuators record. Share Bore Size, Thread Type, Stroke, Stroke Adjusting Unit, Auto Switch, Lead Wire or Pre-wired Connector, Number, the required quantity and your application notes with Pnoneks. Final compatibility and lead time are confirmed during quotation.
ABOUT THE PRODUCT
The essentials for selection.
- Manufacturer
- SMC
- Series
- MY3M
- Product group
- Pneumatic actuators
- Function
- Rodless Pneumatic Cylinders and Rodless Actuators
- Applications
- Suitability is evaluated against technical specifications and application conditions.
- Selection parameters
- Bore Size, Thread Type, Stroke, Stroke Adjusting Unit, Auto Switch, Lead Wire or Pre-wired Connector, Number
Exact dimensions, operating ranges and compatibility depend on the full part number. Review the relevant SMC documentation and application conditions for technical selection.
TECHNICAL PRODUCT INFORMATION
Features and model options
Technical descriptions and values below are preserved in the manufacturer’s original language. Options describe alternatives within the series; not every combination is valid. We will verify the full part number when quoting.
| Parameter | Options / values |
|---|---|
| Bore Size | ø16mm · ø25mm · ø40mm · ø63mm |
| Thread Type | Rc: ø25, ø40, ø63/M thread: ø16 · TN (NPT) · TF (G) |
| Stroke | [100-2000-1] · [2001-3000-1] |
| Stroke Adjusting Unit | L (Left: w/Low Load Shock Absorber; Right: w/Low Load Shock Absorber) · L6 (Left: w/Low Load Shock Absorber, Short Spacer; Right: w/Low Load Shock Absorber, Short Spacer) · L6H (Left: w/Low Load Shock Absorber, Short Spacer; Right: w/High Load Shock Absorber) · L6H6 (Left: w/Low Load Shock Absorber, Short Spacer; Right: w/High Load Shock Absorber, Short Spacer) · L6H7 (Left: w/Low Load Shock Absorber, Short Spacer; Right: w/High Load Shock Absorber, Long Spacer) · L6L (Left: w/Low Load Shock Absorber, Short Spacer; Right: w/Low Load Shock Absorber) · L6L7 (Left: w/Low Load Shock Absorber, Short Spacer; Right: w/Low Load Shock Absorber, Long Spacer) · L7 (Left: w/Low Load Shock Absorber, Long Spacer; Right: w/Low Load Shock Absorber, Long Spacer) · L7H (Left: w/Low Load Shock Absorber, Long Spacer; Right: w/High Load Shock Absorber) · L7H6 (Left: w/Low Load Shock Absorber, Long Spacer; Right: w/High Load Shock Absorber, Short Spacer) · L7H7 (Left: w/Low Load Shock Absorber, Long Spacer; Right: w/High Load Shock Absorber, Long Spacer) · L7L (Left: w/Low Load Shock Absorber, Long Spacer; Right: w/Low Load Shock Absorber) · L7L6 (Left: w/Low Load Shock Absorber, Long Spacer; Right: w/Low Load Shock Absorber, Short Spacer) · LH (Left: w/Low Load Shock Absorber; Right: w/High Load Shock Absorber) · LH6 (Left: w/Low Load Shock Absorber; Right: w/High Load Shock Absorber, Short Spacer) · LH7 (Left: w/Low Load Shock Absorber; Right: w/High Load Shock Absorber, Long Spacer) · LL6 (Left: w/Low Load Shock Absorber; Right: w/Low Load Shock Absorber, Short Spacer) · LL7 (Left: w/Low Load Shock Absorber; Right: w/Low Load Shock Absorber, Long Spacer) |
| Auto Switch | Without Auto switch · M9B--Solid State Switch, Gen. Purpose, 2 Wire, Horizontal · M9BV--Solid State Switch, Gen. Purpose, 2 Wire, Vertical · M9N--Solid State Switch, Gen. Purpose, 3 Wire NPN, Horizontal · M9NV--Solid State Switch, Gen. Purpose, 3 Wire NPN, Vertical · M9P--Solid State Switch, Gen. Purpose, 3 Wire PNP, Horizontal · M9PV--Solid State Switch, Gen. Purpose, 3 Wire PNP, Vertical · M9BW--Solid State Switch, 2-colour Indication, 2 Wire, Horizontal · M9BWV--Solid State Switch, 2-colour Indication, 2 Wire, Vertical · M9NW--Solid State Switch, 2-colour Indication, 3 Wire NPN, Horizontal · M9NWV--Solid State Switch, 2-colour Indication, 3 Wire NPN, Vertical · M9PW--Solid State Switch, 2-colour Indication, 3 Wire PNP, Horizontal · M9PWV--Solid State Switch, 2-colour Indication, 3 Wire PNP, Vertical · A90--Reed Switch, AC/DC Volt. <100, Horizontal · A90V--Reed Switch, AC/DC Volt. <100, Vertical · A93--Reed Switch, DC Volt. >5<24, AC Volt. <100, LED, Horizontal · A93V--Reed Switch, DC Volt. >5<24, AC Volt. <100, LED, Vertical · A96--Reed Switch, DC Volt. 4-8, LED, Horizontal · A96V--Reed Switch, DC Volt. 4-8, LED, Vertical |
| Lead Wire or Pre-wired Connector | 0.5 m (Or None in the Case of No Switch) · M (1m) · L (3 m) · Z (5 m) · SAPC (0.5 m Cord Length, M8-3 Pin Connector) · SBPC (0.5 m Cord Length, M8-4 Pin Connector) · SDPC (0.5 m Cord Length, M12-4 Pin Connector) · MAPC (1.0 m Cord Length, M8-3 Pin Connector) · MBPC (1.0 m Cord Length, M8-4 Pin Connector) · MDPC (1.0 m Cord Length, M12-4 Pin Connector) |
| Number | 2 pcs. (Or None in Case of No Switch) · S (1 pc.) |